
Build a Link Preview integration
Follow this step-by-step guide to create your first Link Preview.
A Link Preview is a real-time subtitle of authenticated content that unfurls in Notion when an authenticated user pastes a supported link in their workspace.
Developers can build Link Preview integrations to customize how links unfurl in Notion workspaces for domains they own.
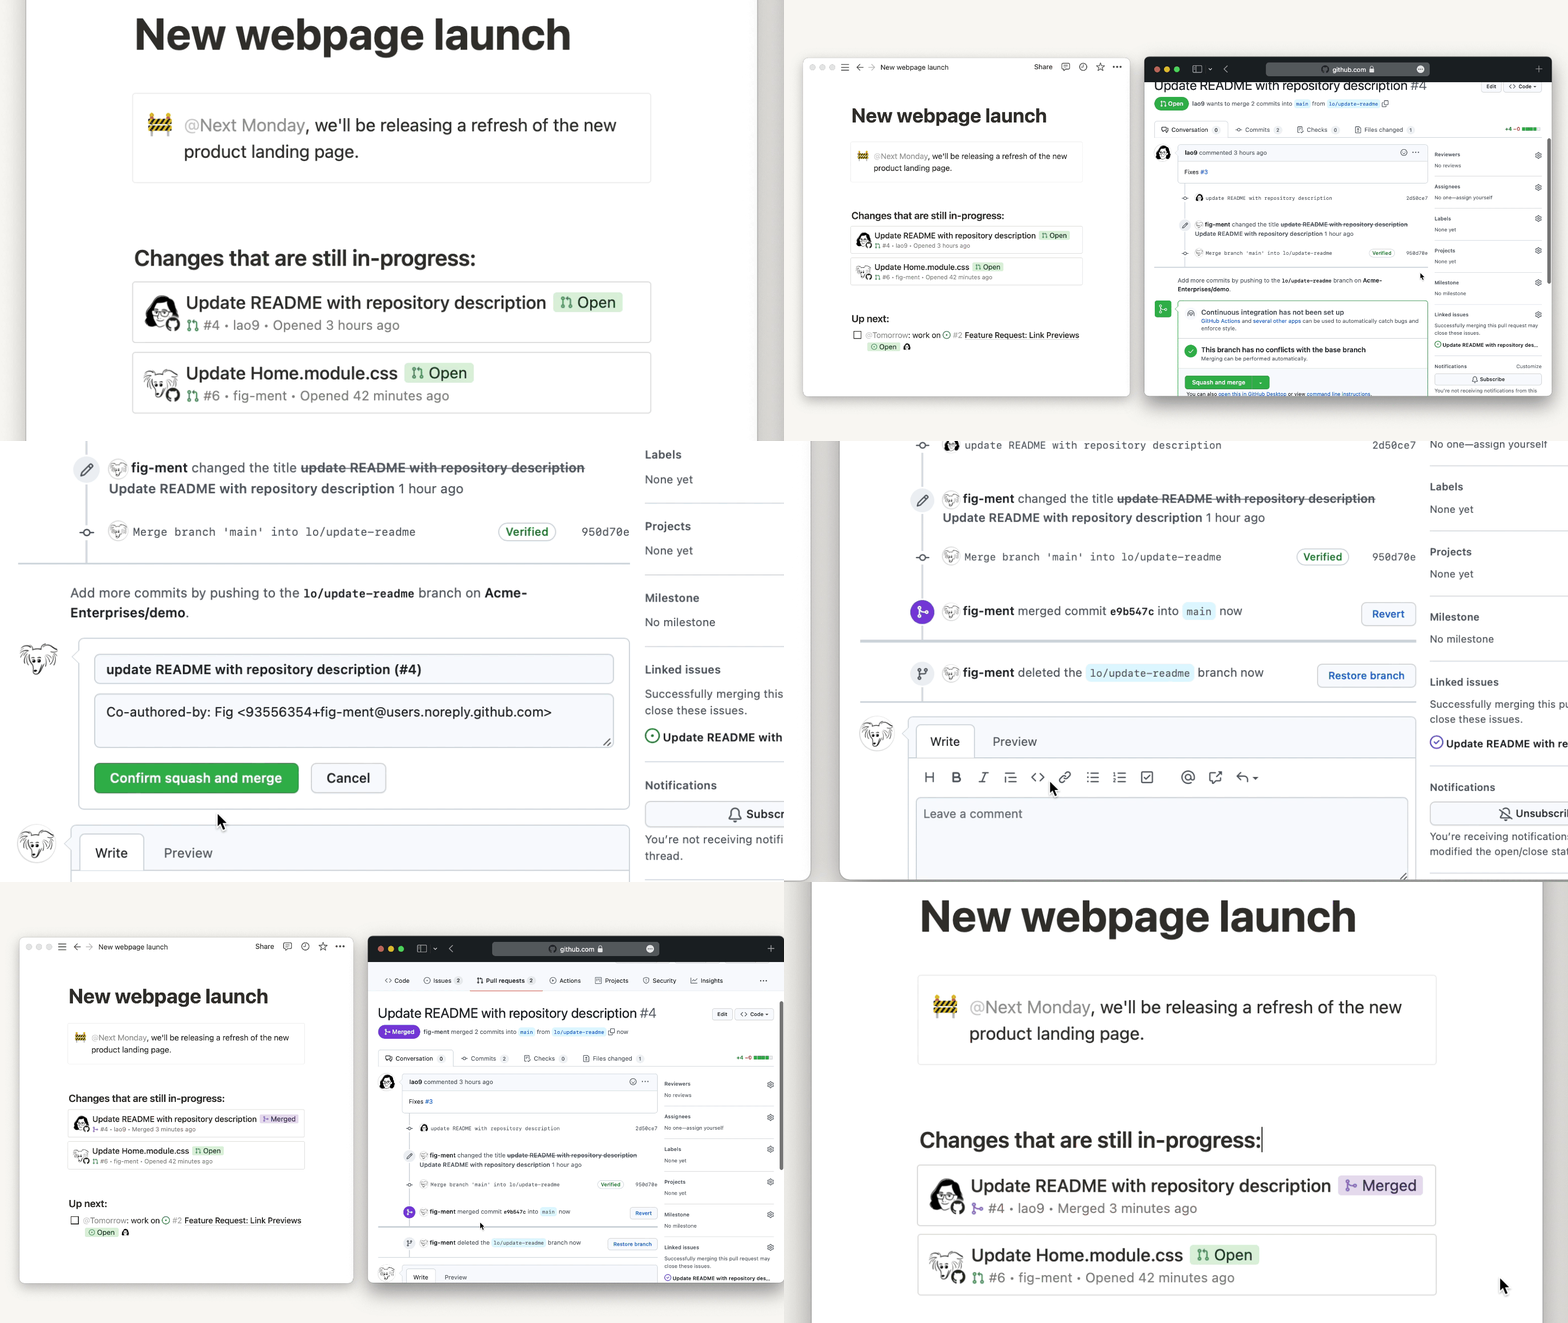
This guide explains how to use the Notion Link Previews API to create Link Previews for your product. After you’ve read this guide, you’ll know how to:
To build a Link Preview integration, you must first request access to the Link Preview API. Fill out the Link Preview request form before proceeding if you haven’t already.
Requirements
- You’ve requested and received access to the Link Previews API.
- You own the domain that you’re using to create Link Previews. You’ll need to share a verification code from Notion with your domain host when you initialize the integration.
- Your application supports OAuth 2.0.
- You’ve read the Link Previews overview, so you have a good idea of what you’re building and how it works.
- You’ve read the Authorization guide and have familiarized yourself with Notion integrations.
With those requirements met, read on!
To build a Link Preview integration, you must first request access to the Link Preview API. Fill out the Link Preview request form before proceeding if you haven’t already.
🌱 Create a public Notion integration
Link Preview integrations are a type of public integration. To create a Link Preview integration, you must first create a public integration. Once the public integration is created, you can enable the link preview setting through the integration’s settings.
To learn how to create a public integration, follow the Authorization guide.
🛠️ Configure Link Preview settings in the integration dashboard
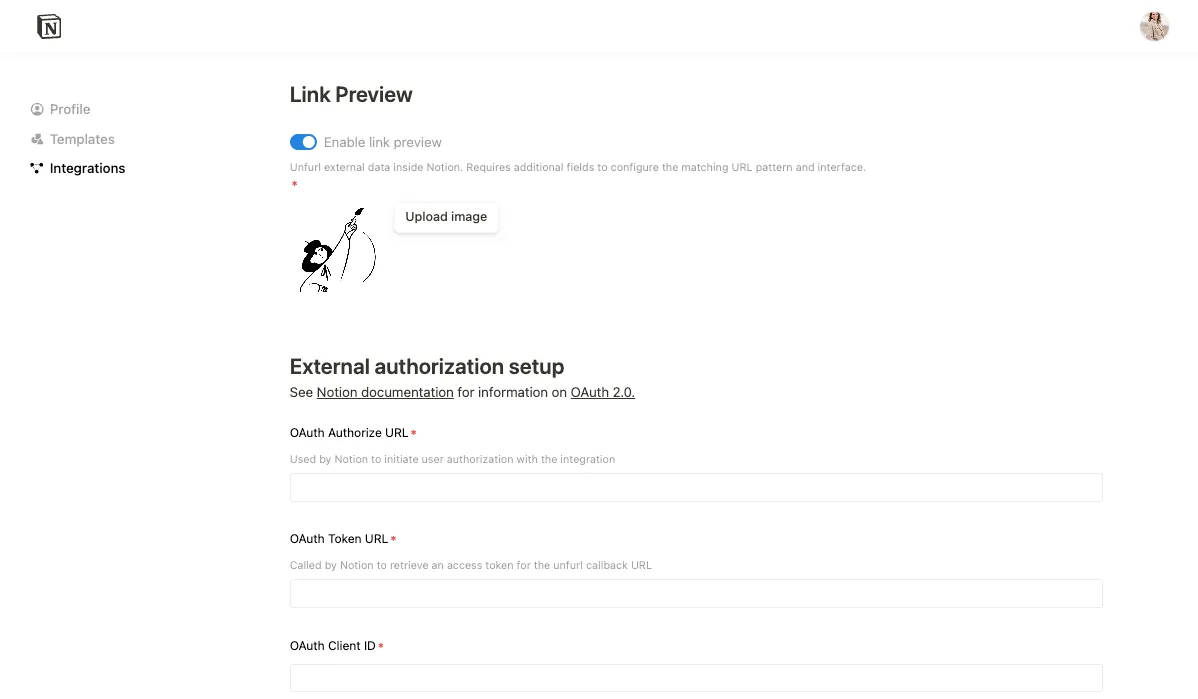
This step will guide you through enabling link previews for your integration, as well as filling out the link preview integration forms found in your integration settings.
To start, navigate to the public integration you will be using for your link preview integration. It can be found in the integration dashboard. If you have access to the Link Preview API, you will see a Link Preview section in the Configuration tab.
2. Authenticate with Notion’s access_token
In your integration implementation, retrieve the code that Notion sent when it called your OAuth Authorize URL. Then, send the code as part of a POST request to Notion’s token URL: https://api.notion.com/v1/oauth/token.
The Notion code is valid for 10 minutes. If the code expires, then an error is returned and you need to reinitiate the auth flow for Notion to authenticate with your service (Step 2a).
To explore other possible errors, refer to the OAuth 2.0 documentation. Default to re-initiating the auth flow to handle errors.
The request is authorized using HTTP Basic Authentication. The credential is a colon-delimited combination of the integration’s CLIENT_ID and CLIENT_SECRET: CLIENT_ID:CLIENT_SECRET. You can find these values on the integration settings page. Visit notion.so/profile/integrations, find your integration, and click View integration.
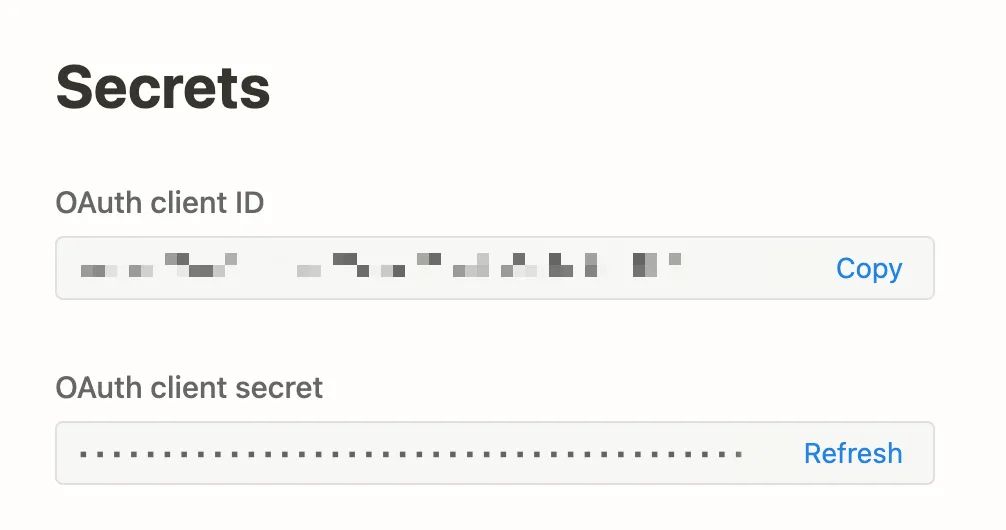
Note that in HTTP Basic Authentication, credentials are base64 encoded before being added to the Authorization header. Notion also requires the word Basic before the base64 encoded string. A complete code param looks something like the following:
Basic NjQ5Mzc0OTIzNzQ5MjM4NDc5MjM4NDc5MjM0NzkyMzc0OjQ3Mzg5Mjc0OTIzODQ3Mjk0ODcyMzkzNDgyNzk0ODcyMzQ5
For more information, read about HTTP Basic Authentication in our Authorization guide.
The body of the request contains the following JSON-encoded fields:
The following example demonstrates an external_account object for team@makenotion.com, a Notion employee account, to authenticate with Slack to use a Slack Link Preview.
The account name appears in the "My connections" settings page, where a user can review their authentications for your integration.

A complete POST request looks like the below:
Notion responds to the request with a 200 OK and the following response body:
Store the Notion response, and associate it with the user who initiated the OAuth flow. Notion stores the token that you provided.
For tips on storing access_tokens, check out the auth guide.
3. Redirect to the redirect_uri with code
When a user selects "Allow" to grant Notion the requested permissions, redirect to the redirect_uri , the constant string notion.so/externalIntegrationAuthCallback, with your service’s unique code and the state that Notion sent to your service when it initiated the auth flow.
When Notion receives the redirect, it sends a POST request to the OAuth Token URL that you provided with the following body:
The body is sent in the application/x-www-form-urlencoded format and expects a JSON response.
4. Share the access_token with Notion
From your OAuth Token URL, respond to Notion’s POST request with an access_token body parameter in your 200 response.
Notion saves the access_token to send in future requests. Notion sends a request to your Unfurl Callback URL every time that the user associated with the token pastes a new Link Preview enabled URL or revisits a page with an existing Link Preview to refresh data.
How Notion handles OAuth errors
Notion handles error responses as described by the OAuth Error Spec. The message that Notion displays to the user varies depending on the information that you provide.
For example, you can respond with an error and a standard error code like access_denied:
https://notion.so/externalintegrationauthcallback?error=access_denied
In this instance, Notion shares the following message:
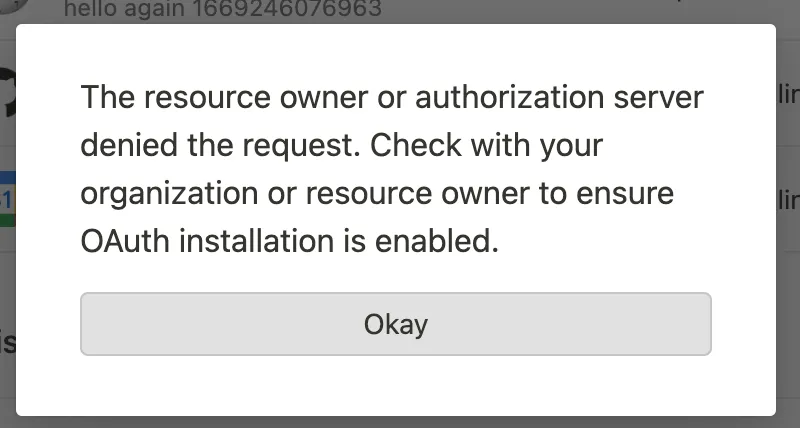
The message that Notion displays in the UI when it receives an access_denied error code from your service
You can also add an error_description to the response:
https://notion.so/externalintegrationauthcallback?error=access_denied&error_description=The+user+has+denied+your+application+access
If Notion detects a description, then it replaces the standard dialogue prompt with the specified description, as in the below:
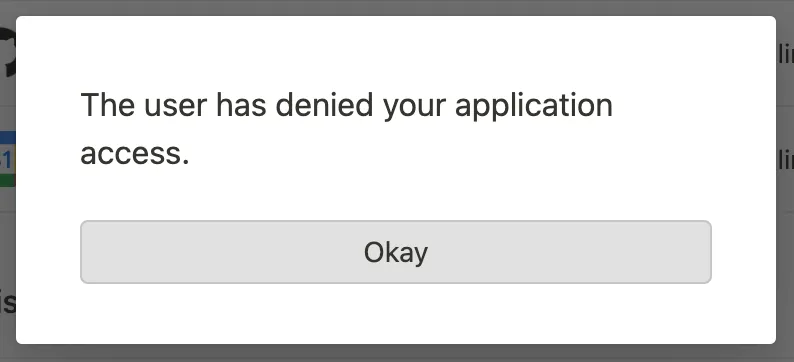
If you provide an error_description parameter, then the message in the Notion UI displays it
If Notion doesn’t recognize the error code, then it notes that the error is unknown:
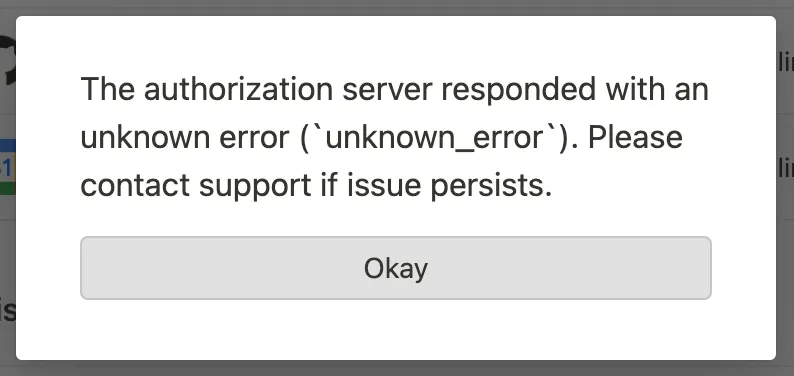
For more details on standard error codes, refer to the OAuth spec.
How to use refresh tokens (optional)
Skip to Step 2e if you’re creating long-living access tokens. This section only applies to temporary access tokens.
Return a refresh_token
Instead of creating a long-living access_token, you can send a refresh_token alongside a temporary access token. Notion can then use the refresh_token to fetch new tokens from your service.
If you return a refresh_token, then you need to also return an expires_in integer, as in the following example:
expires_in represents the number of seconds until the access_token expires.
Notion requests to refresh a token
If Notion detects that the access_token is expired, meaning that the current time exceeds the time of the last refresh plus the expires_in value, then Notion refreshes the tokens when it calls your endpoints.
To refresh the token, Notion sends a POST request to your OAuth Token URL with the following parameters:
Respond to Notion’s request to refresh a token
From your OAuth Token URL, return an access_token in your 200 response. You can optionally return new refresh_token and expires_in values.
5. Test the auth flow in Notion
To test the auth flow, make sure that you’ve added the integration to a workspace. Then, navigate to "My connections" in the workspace settings. Click "Show all". Find the integration that you created in the list, and select "Connect" to kick off the auth flow.
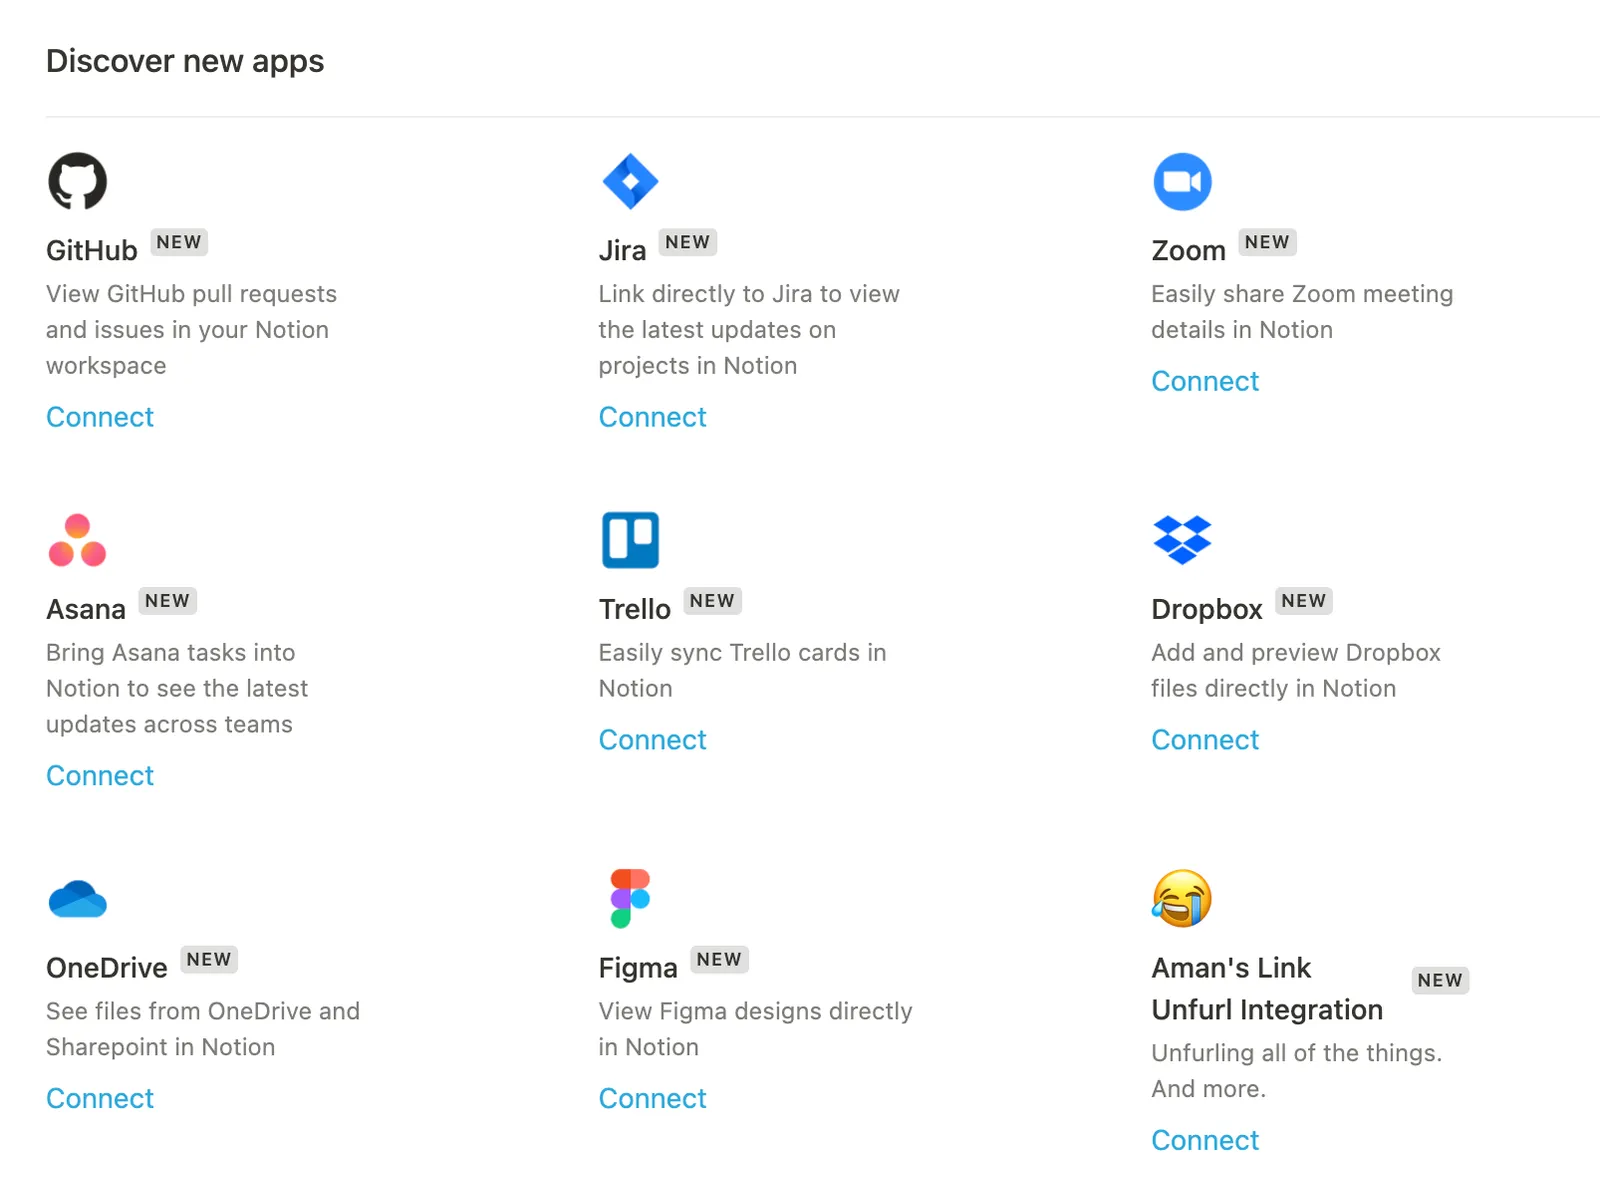
If you don’t see your integration in the list, then refresh the page. Notion only loads new integrations on page load.
If the auth flow is successful, then you’ll see a new entry under the "My connections" menu.
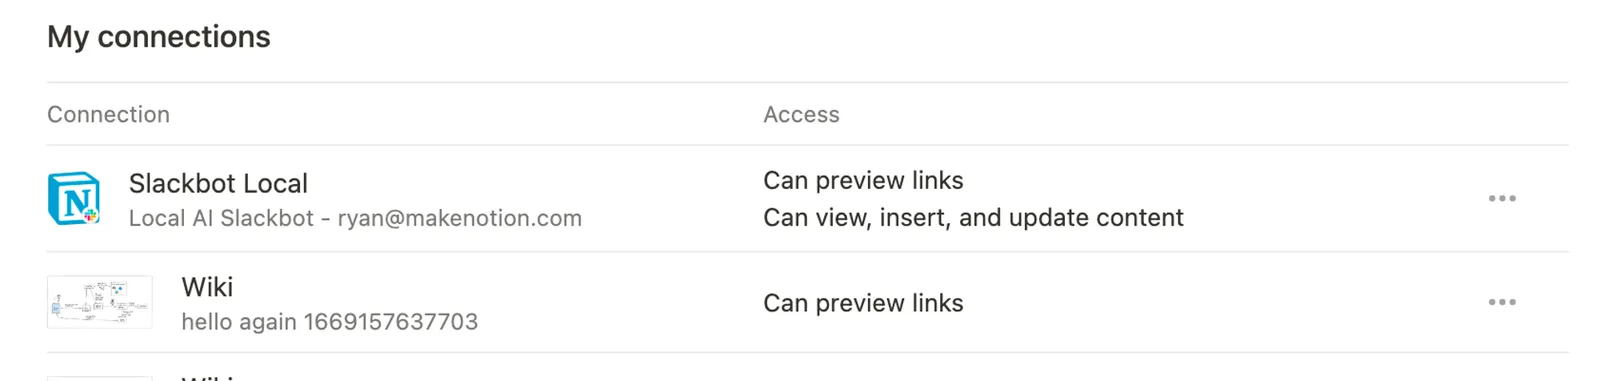
To verify that the key for this connection is unique, repeat the auth flow multiple times using the same credentials to validate that you only get a single entry.
📞 Use the Unfurl Callback URL
1. Configure unfurl attributes
After a user pastes a Link Preview enabled link and completes the auth flow, Notion sends a POST request to the Unfurl Callback URL that you provided in the integration settings.
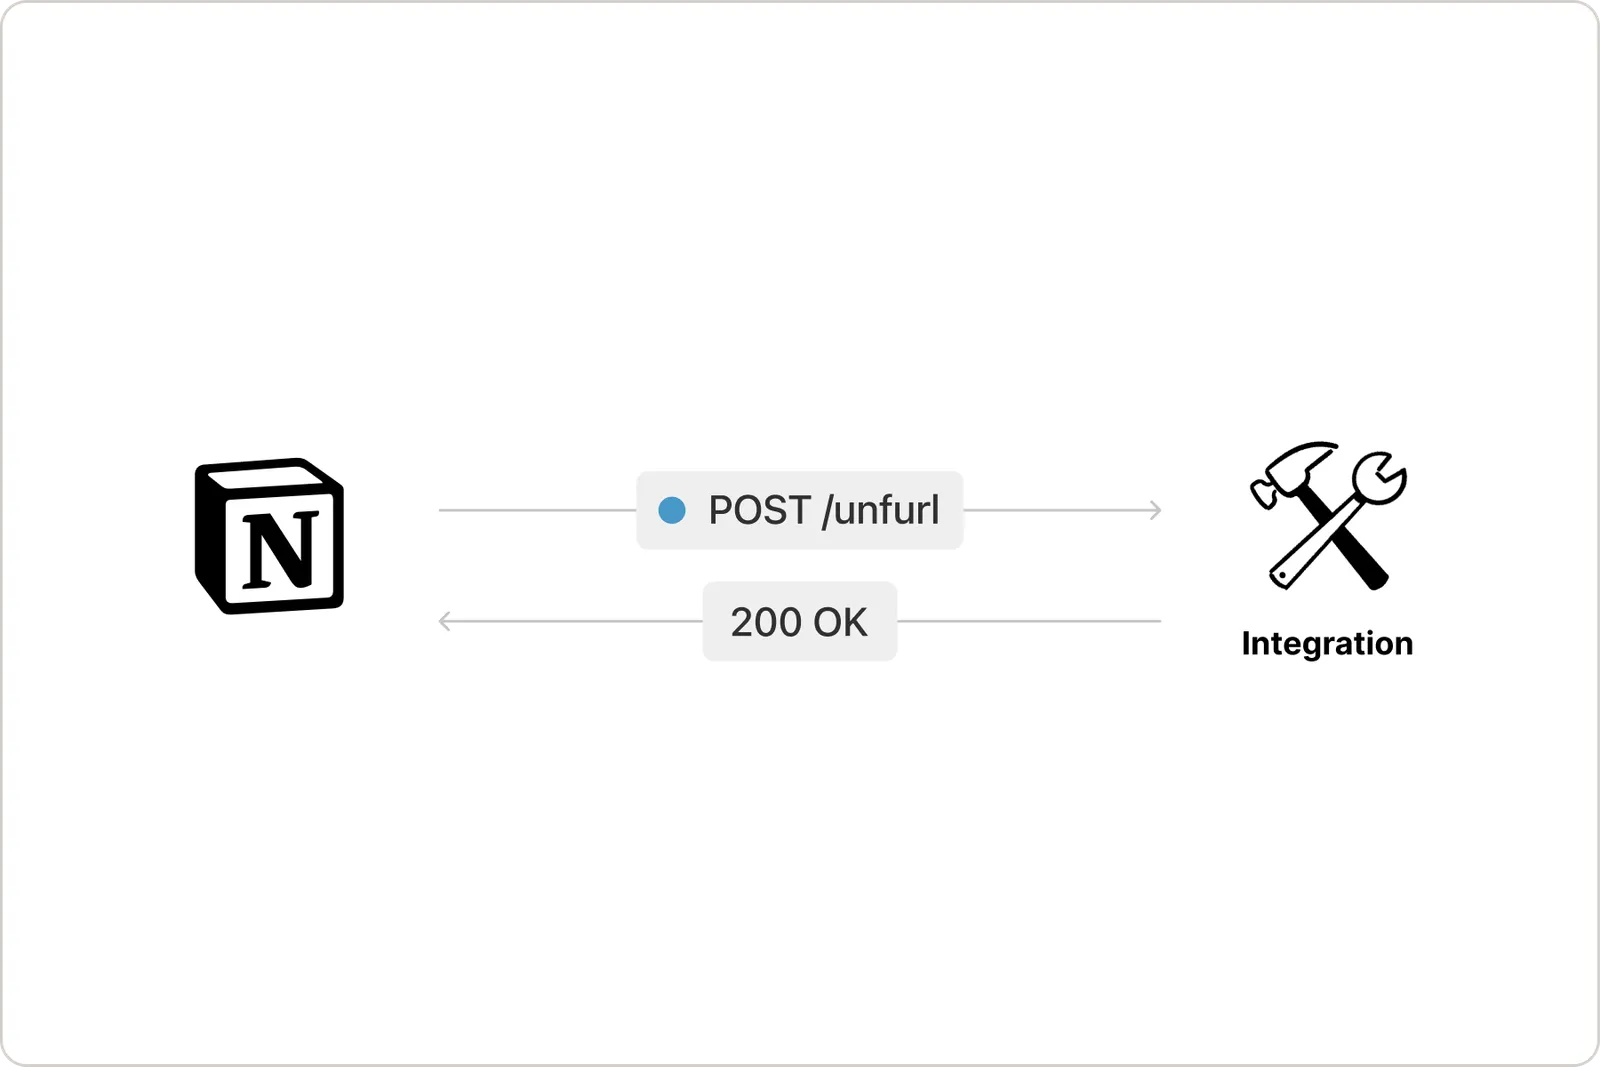
Notion sends the access_token from your service in a POST to the Unfurl Callback URL that you provide
The request includes a Bearer authorization with the user’s access_token from your service, and the payload is a single field called uri that includes the link that the user shared:
Set up the Unfurl Callback URL to respond to Notion’s request with a 200 OK including the uri, and an array of all of the unfurl attributes, the values to display in the Link Preview. The array must include a title attribute that gives the Link Preview a title and a dev attribute that indicates the developer or company that created the Link Preview.
The following is an example response:
To preview how different response objects unfurl in a Link Preview, explore the integration’s Link Preview Lab.
To learn more about unfurl attributes, refer to the Link Preview unfurl attributes reference.
2. Handle unfurl request errors
Set up the Unfurl Callback URL to handle errors, as in the following example.
🔁 Manage updates to Link Previews
Update Link Previews to reflect data shared in unfurl attributes
If the unfurl attributes from your service change over time, then you can alert Notion to update the Link Preview to mirror those changes.
When your service detects changes to data that is referenced by a Link Preview, send a PATCH request to Notion’s /v1/external/object endpoint to update the unfurl attributes.
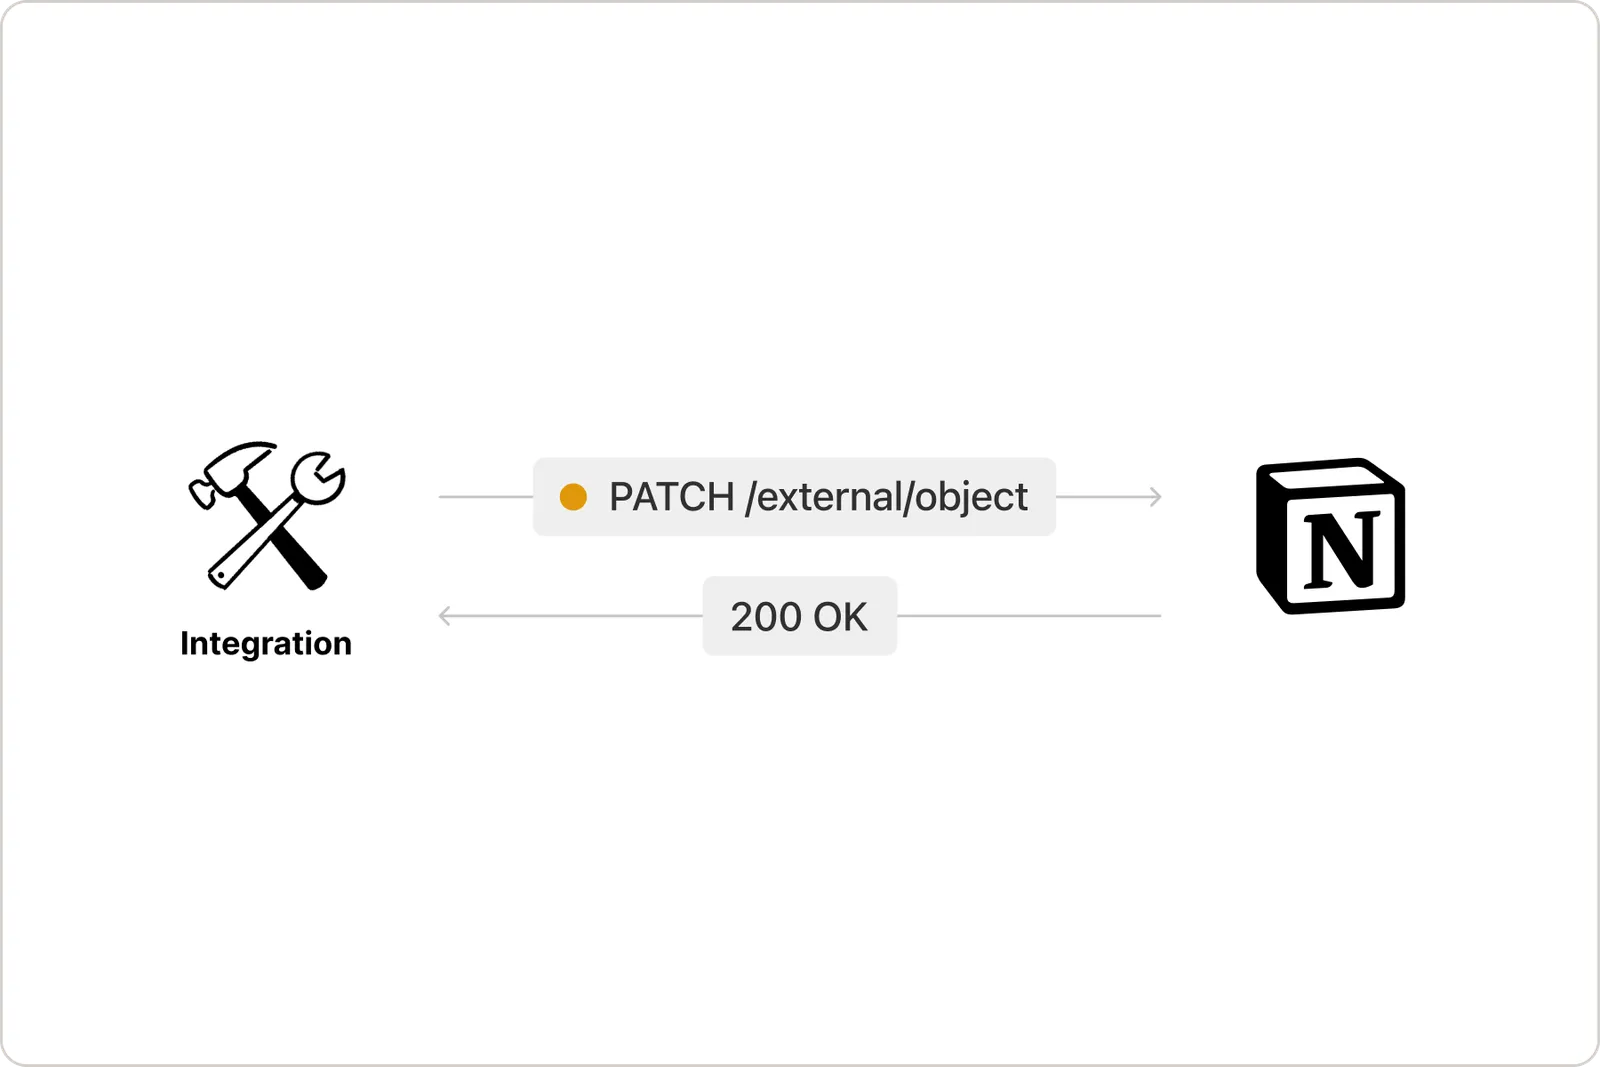
To update the unfurl attributes displayed in a Link Preview, send a PATCH request to Notion’s /v1/external/object endpoint using all of the attributes from the original Unfurl Callback URL response
Include all of the same objects from the Unfurl Callback URL response in the request, including the attributes that haven’t changed, as in the following example:
It’s also possible to set a new error request. For example, if the data originally shared in a Link Preview can’t be found, then you could send an update request as follows:
You can also set both new attributes and an error request at the same time, as in the below example:
When updating a Link Preview’s unfurl attributes, there’s no need to clear the error. If no error is sent, then the error is automatically cleared.
Notion updates your service when a user deletes Link Preview enabled URLs
When a user deletes all Link Previews associated with a URL from their workspace, Notion sends a DELETE request to your Unfurl Callback URL.
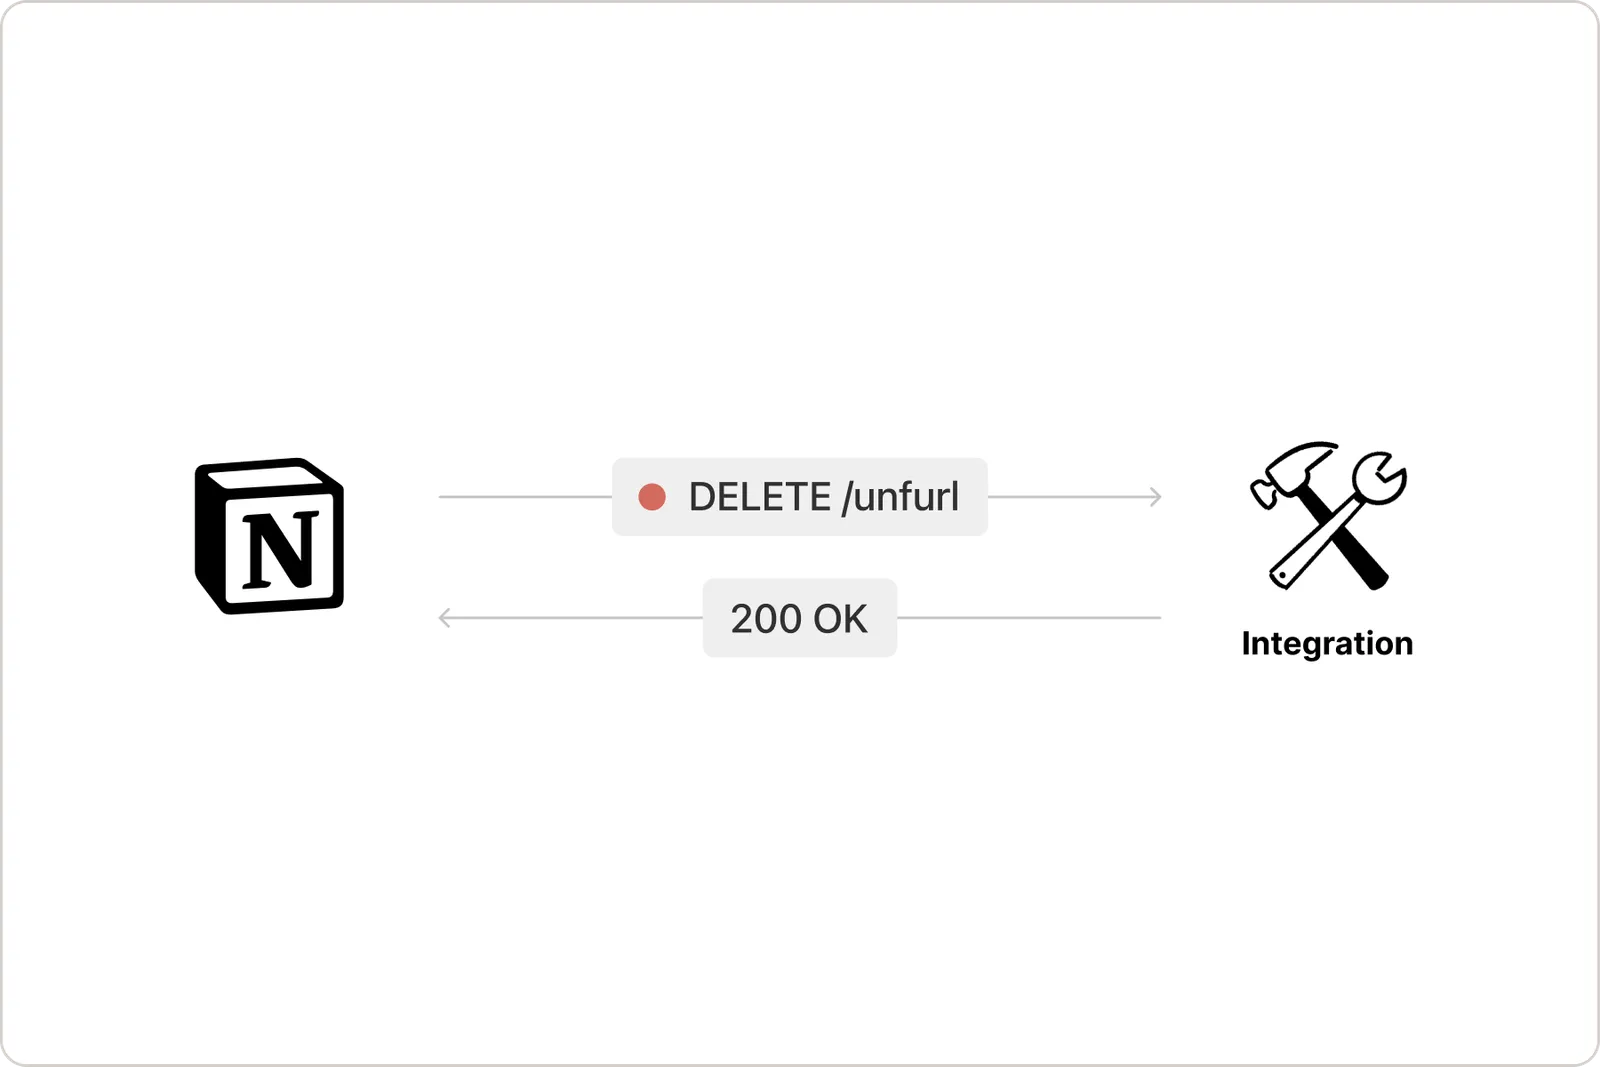
Notion sends a DELETE request to your /unfurl endpoint.
Listen for the request to perform any associated actions, like deleting the record from your service.
💫 Submit your integration for security review
Before a Link Preview integration can be publicly distributed, it needs to pass a security review. Fill out this form to submit your integration for review.
👀 Next steps
- To learn more about customizing a Link Preview’s unfurl attributes, refer to the reference docs